Course Tour

  • Hole #1

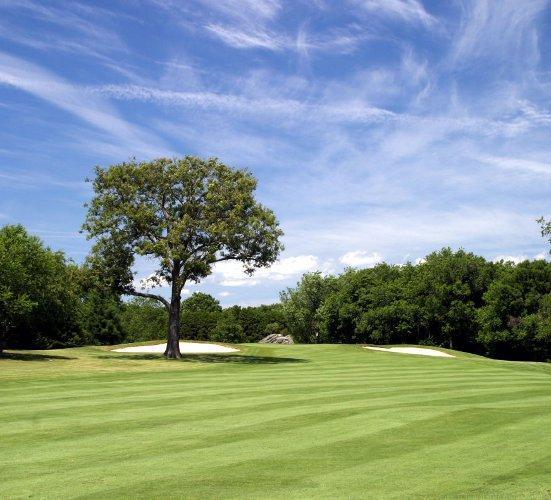
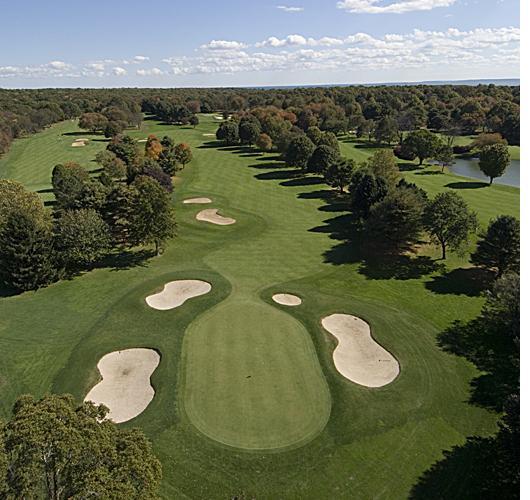
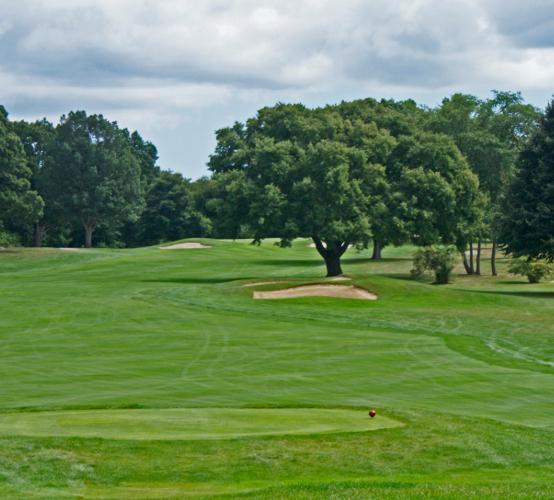
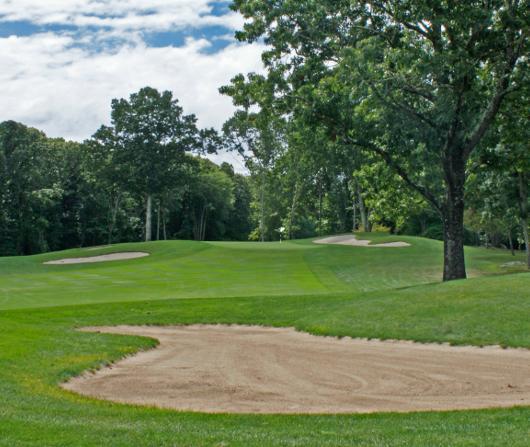
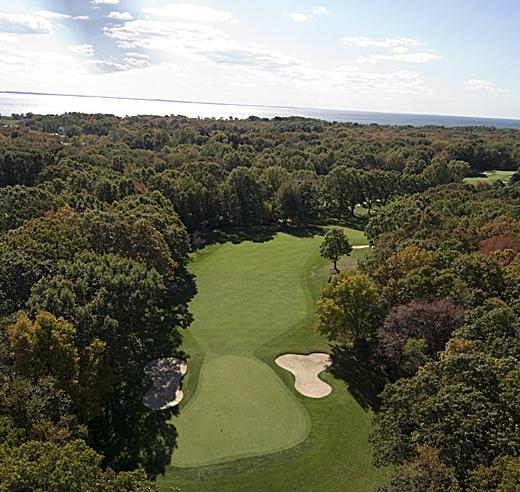
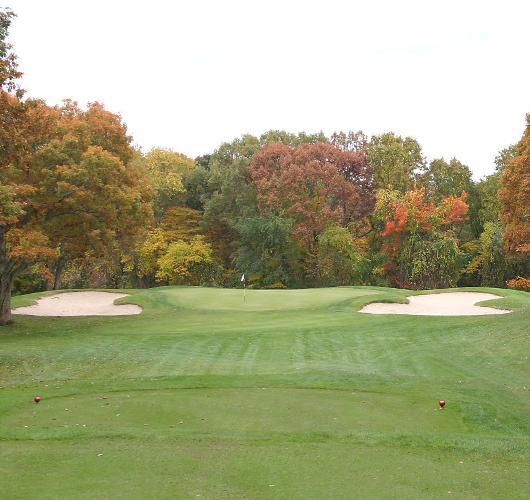
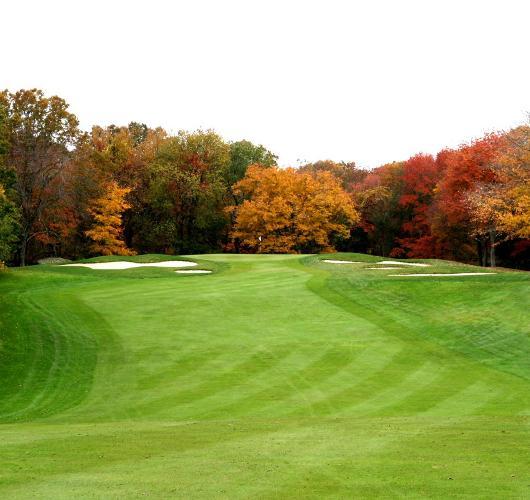
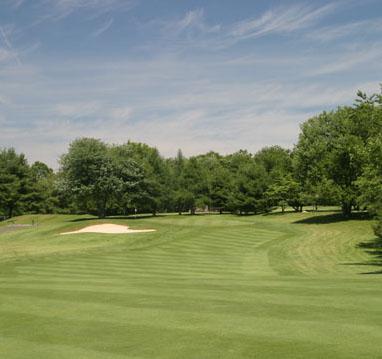
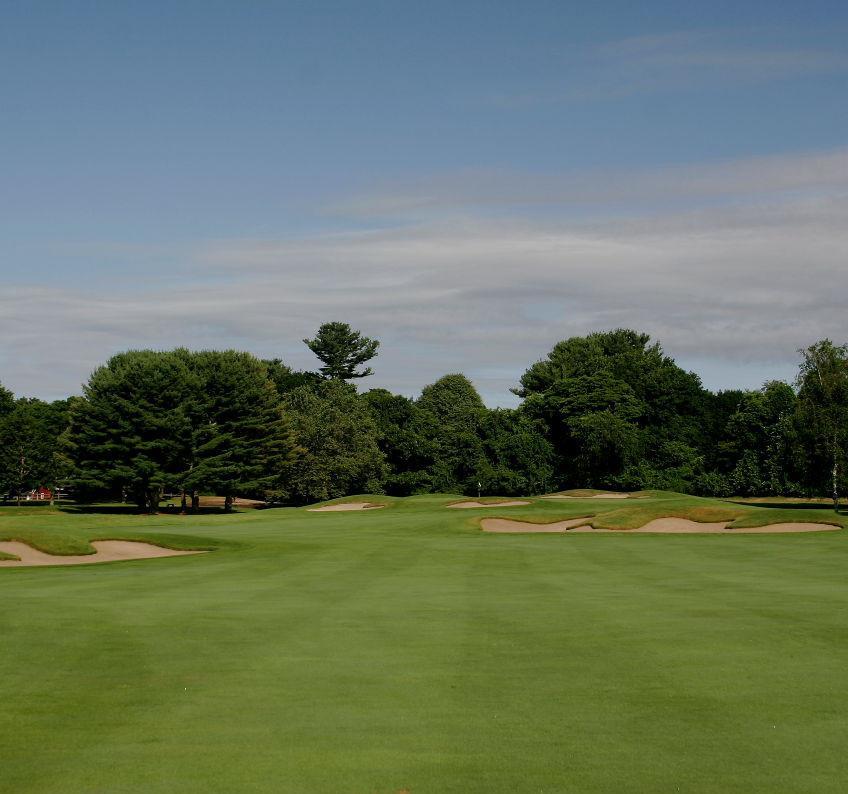
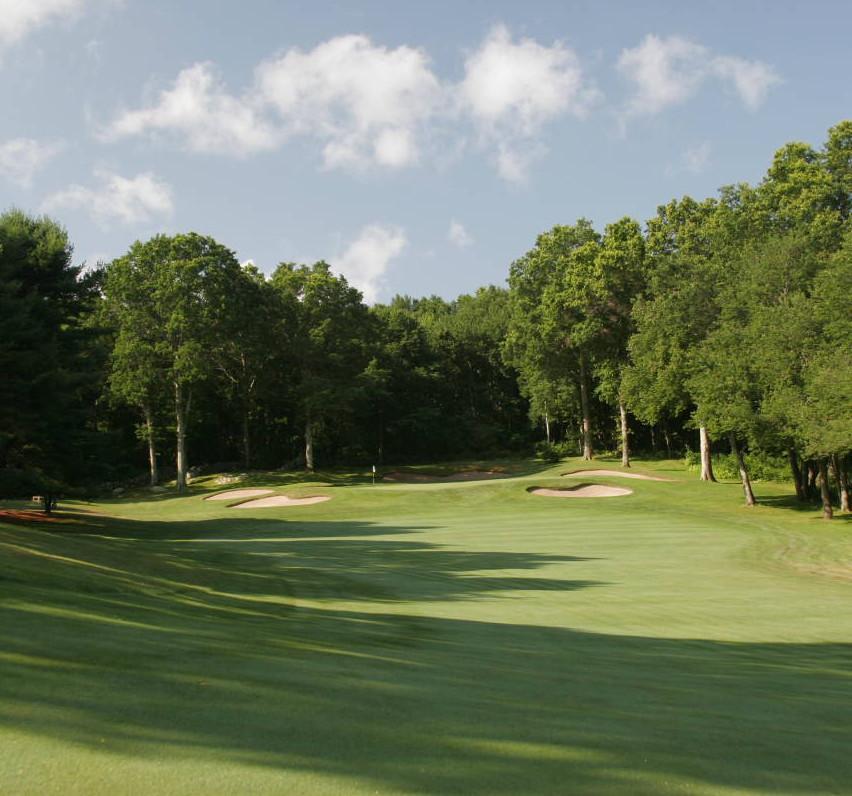
    The opening par four at Black Hall requires a well placed tee shot, preferably to the right center of the fairway. This will leave the best angle to the green, which is well bunkered left and right and protected by a large tree about 50 yards in front of the green on the left. The front portion of the green is severely sloped and will collect anything with too much spin.

    Yardage
    Black 377
    Blue 361
    White 325
    Silver 310
    Gold 253
  • Hole #2

    The first par 5 on the course proves a tough battle. Well placed bunkers in the driving area, second shot landing area as well as both sides of the green encourages a defined strategy. Aim carefully and stay below the hole for your best chance at birdie.

    Yardage
    Black 514
    Blue 475
    White 458
    Silver 428
    Gold 382
  • Hole #3

    The left center of the fairway is the ideal place for your tee shot on this difficult par four. A well placed tree will be in play for any second shot played from the right side of the fairway. Two fairway bunkers on the right are also in play. Short is a good place to miss this well bunkered green.

    Yardage
    Black 446
    Blue 423
    White 389
    Silver 346
    Gold 342
  • Hole #4

    A sharp dogleg right paired with a dangerously sloping green gives this short par 4 a tough defense against par. Most players will take less than driver off the tee leading to an uphill short to mid iron into the green. A two putt here is an accomplishment.

    Yardage
    Black 376
    Blue 356
    White 338
    Silver 325
    Gold 282
  • Hole #5

    Attempt to have your ball on level ground off the tee either by laying up into the flat or carrying the down slope. A precise second shot below the hole will give way to a birdie chance.

    Yardage
    Black 362
    Blue 344
    White 331
    Silver 316
    Gold 289
  • Hole #6

    The placement of the tee shot is vital. If possible, carry the hill to reach the flat portion of the fairway for a clean look into the green. Any shot that stays on the hill will provide a difficult, blind, side hill second shot that is challenging to gauge distance and direction. The green will widen past the middle of the putting surface.

    Yardage
    Black 376
    Blue 360
    White 338
    Silver 335
    Gold 330
  • Hole #7

    Playing slightly downhill, the tee shot seems to stay in the air longer than expected, putting emphasis on a well played iron. A true test of a classic par 3.

    Yardage
    Black 180
    Blue 165
    White 138
    Silver 113
    Gold 108
  • Hole #8

    Two precise shots will put the putter in your hands but par is still a challenge to achieve. Your second shot will be demanding, both up hill and into a green featuring a front bowl that will collect and funnel any shots that fall short. Take an extra club or two and play to the middle of this green.

    Yardage
    Black 429
    Blue 407
    White 374
    Silver 368
    Gold 360
  • Hole #9

    A challenging par 3 framed by deep bunkers and looming trees plays gradually uphill and most usually into the wind. Club choice is imperative here. Avoiding bunkers left and right is difficult due to the skinny but long shape of the green. Par here is a commendable score.

    Yardage
    Black 161
    Blue 145
    White 134
    Silver 122
    Gold 117
  • Hole #10

    A dogleg right encourages using a club less than driver toward the fairway bunker straight ahead. A favorable second shot into a large green gives way to one of the more manageable birdie chances on the back nine.

    Yardage
    Black 366
    Blue 348
    White 334
    Silver 320
    Gold 288
  • Hole #11

    Visually challenging from tee box to green, the longest par five is a true representation of the test of golf Robert Trent Jones had in mind. A well placed tee shot to the apex of the dog leg will return a favorable angle to set up a second shot that plays short of the fairway bunkers that rest just over one hundred yards away from center. This green is extremely wide but shallow, making distance control paramount.

    Yardage
    Black 570
    Blue 537
    White 507
    Silver 500
    Gold 433
  • Hole #12

    Following our longest par five is our longest par four on the course. The yardage can be adjusted with a well manufactured drive cutting off a corner of the pond but decidedly so, very risky. A long second shot plays into a green guarded by bunkers and increasing slope coming from the right. A par here means you played brilliant golf.

    Yardage
    Black 458
    Blue 420
    White 389
    Silver 379
    Gold 318
  • Hole #13

    Coincidentally, after our longest par five and par four lays our longest par three. Any shot that finds the putting surface is commendable. The best place to miss your tee shot is short and right of the green leading to a favorable angle for your chip shot.

    Yardage
    Black 194
    Blue 182
    White 153
    Silver 145
    Gold 140
  • Hole #14

    This par five begins the secluded layout of holes to finish your round. A well placed drive to the apex of the dogleg leads to a visually challenging second shot to set up the approach. Avoid the massive side slope coming from the left by carrying your second shot just past the one hundred yard marker. Gauge your approach to a perched green carefully as it is difficult to pick the proper landing area.

    Yardage
    Black 507
    Blue 475
    White 455
    Silver 425
    Gold 418
  • Hole #15

    The fifteenth hole sets up with a straightforward tee shot down the hill. It could be argued that this is the hardest second shot on the golf course. Playing uphill, it is crucial that both left and right bunkers are avoided. A severe slope starts from the middle of the green and leads downhill to the front to dissipate any shots played with too much spin. Favorably, the back section of this green expands and plays relatively flat. Just be careful of any putt going towards the front of the green, down the hill.

    Yardage
    Black 398
    Blue 380
    White 365
    Silver 350
    Gold 347
  • Hole #16

    A memorable hole that challenges and pleases. The sixteenth urges you to play testing and demanding shots. A ball left of the fairway bunkers and short of the pond will open up to an approach that must carry to an angled green along the waters edge. Hit the green and two putt for a well earned par.

    Yardage
    Black 380
    Blue 361
    White 339
    Silver 333
    Gold 329
  • Hole #17

    Water is in play again which also influences the slope of the green that drastically breaks toward the pond. A shot to the middle of the green will provide you with your safest line in way to a formidable birdie chance.

    Yardage
    Black 168
    Blue 151
    White 141
    Silver 133
    Gold 90
  • Hole #18

    To finish off your experience, Jones provides a thrilling opportunity to bring a conclusion to your round. The tall trees that line the fairway offer a stadium experience to the uphill drive. The green is severely sloped from back to front so anticipate your ball spinning back if using a lofted iron. An uphill putt here leaves the best chance at a try for birdie.

    Yardage
    Black 397
    Blue 375
    White 353
    Silver 341
    Gold 332

Scorecard

Close
49 Buttonball Road, Old Lyme, CT 06371
860.434.2038